How to Batch Add White Borders to Photos
Add a white border to hundreds of photos in seconds. Learn how to batch-add uniform white borders, pick the right border width, and export everything at once.
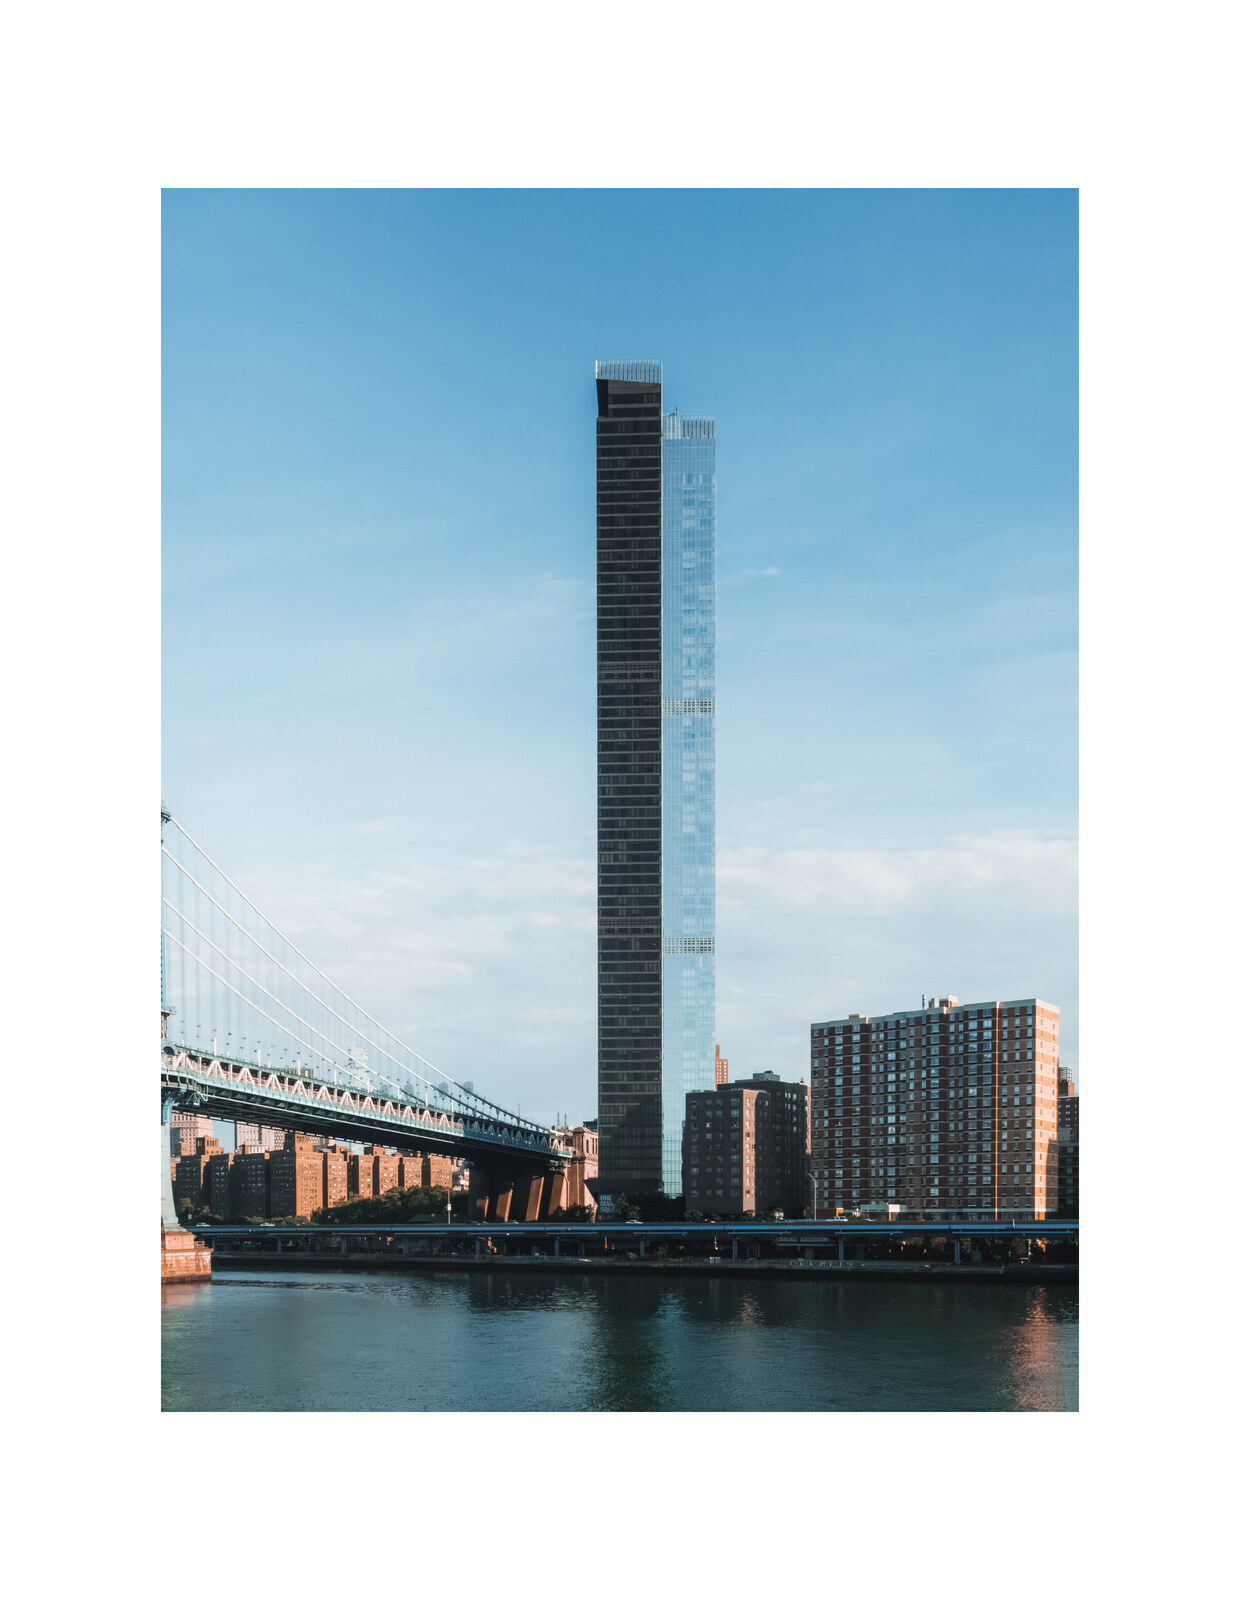
Adding a white border to one photo is easy. Adding the same white border to a hundred photos — without a single pixel of difference between them — is where most photo editors fall apart.
A uniform white border is the signature look of a clean, professional feed. It separates your photo from the background, makes a mixed batch of aspect ratios feel cohesive, and (if you know the trick) keeps Instagram from cropping your images. Here’s how to batch-add white borders to your photos in under a minute.
Before digging in, a quick note on how DelightfulBorders actually works: a “white border” isn’t a special feature. It’s the app’s Backgrounds & Textures feature where you pick a solid white color (#FFFFFF) as the backdrop, then frame your photo inside it. Understand that, and everything below falls into place.
Why batch white borders?
White borders are more than a decorative choice. They solve real problems:
- Consistency across a batch. When you border 40 photos from one shoot, they instantly read as one set.
- Aspect ratio protection. Framing a 4:3 photo inside a square-safe area keeps your subject centered so social platforms don’t crop it.
- Negative space. A border gives the eye breathing room — especially effective for busy or low-light images.
- A “processed” look. White mats are how printed galleries, portfolios, and premium feeds are framed.
The catch is that hand-bordering photos one at a time guarantees slight differences — uneven widths, inconsistent margins, hours of your day gone. Batch processing solves all three.
Before and after: the white border effect
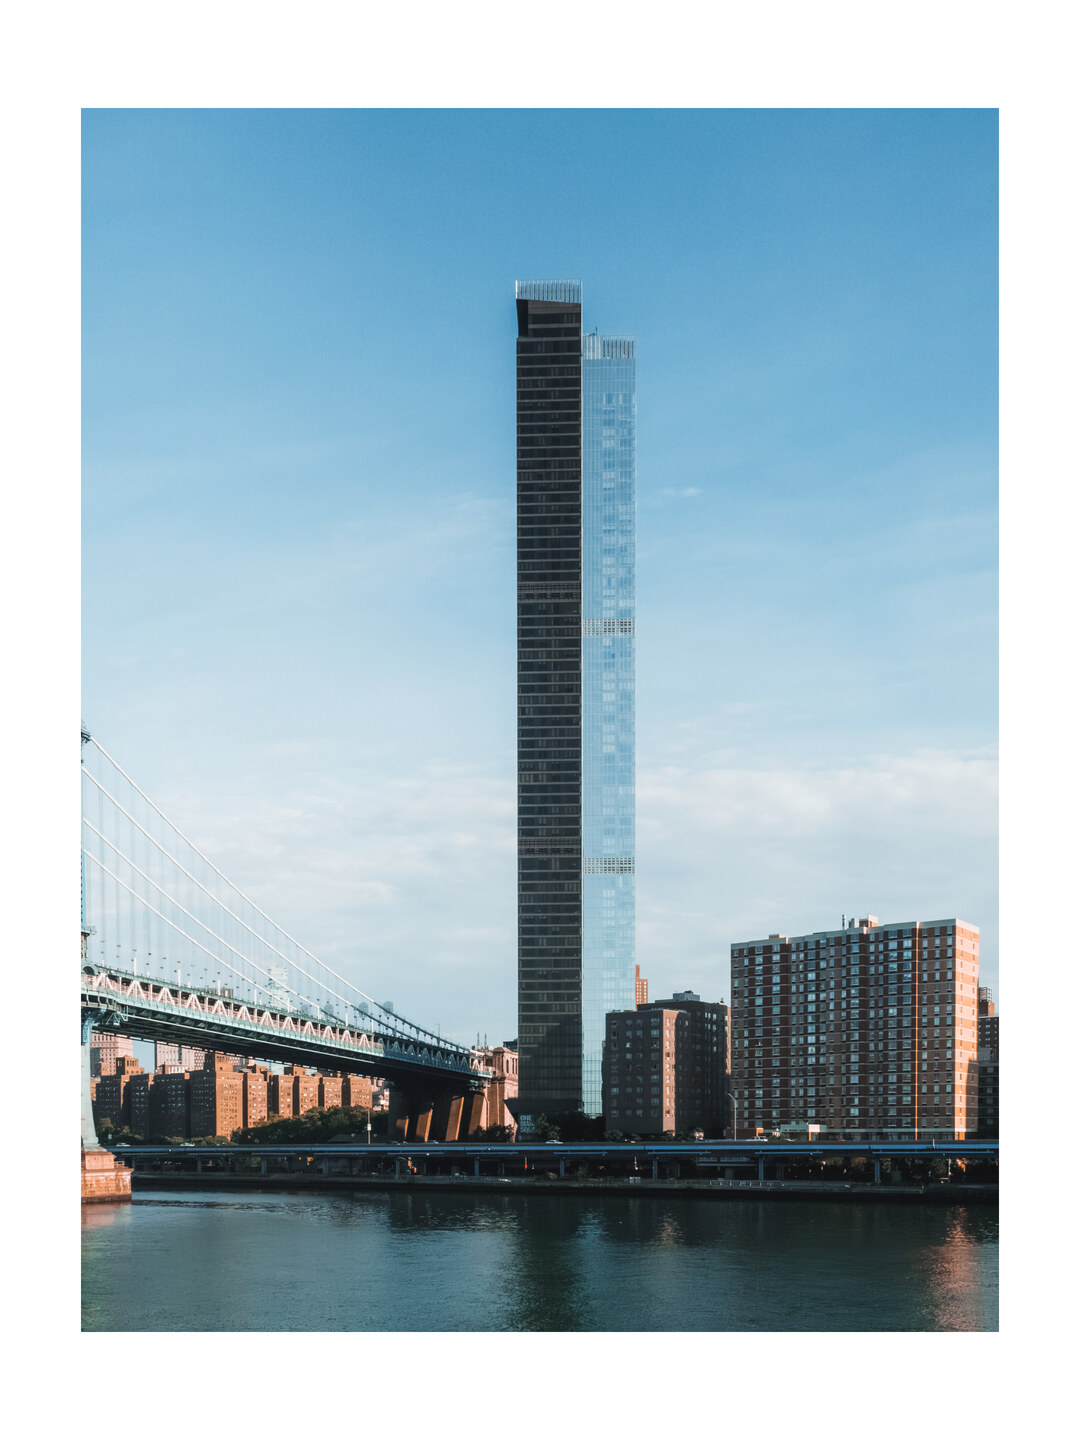
Here’s a 3:4 portrait before and after a single, uniform white border:
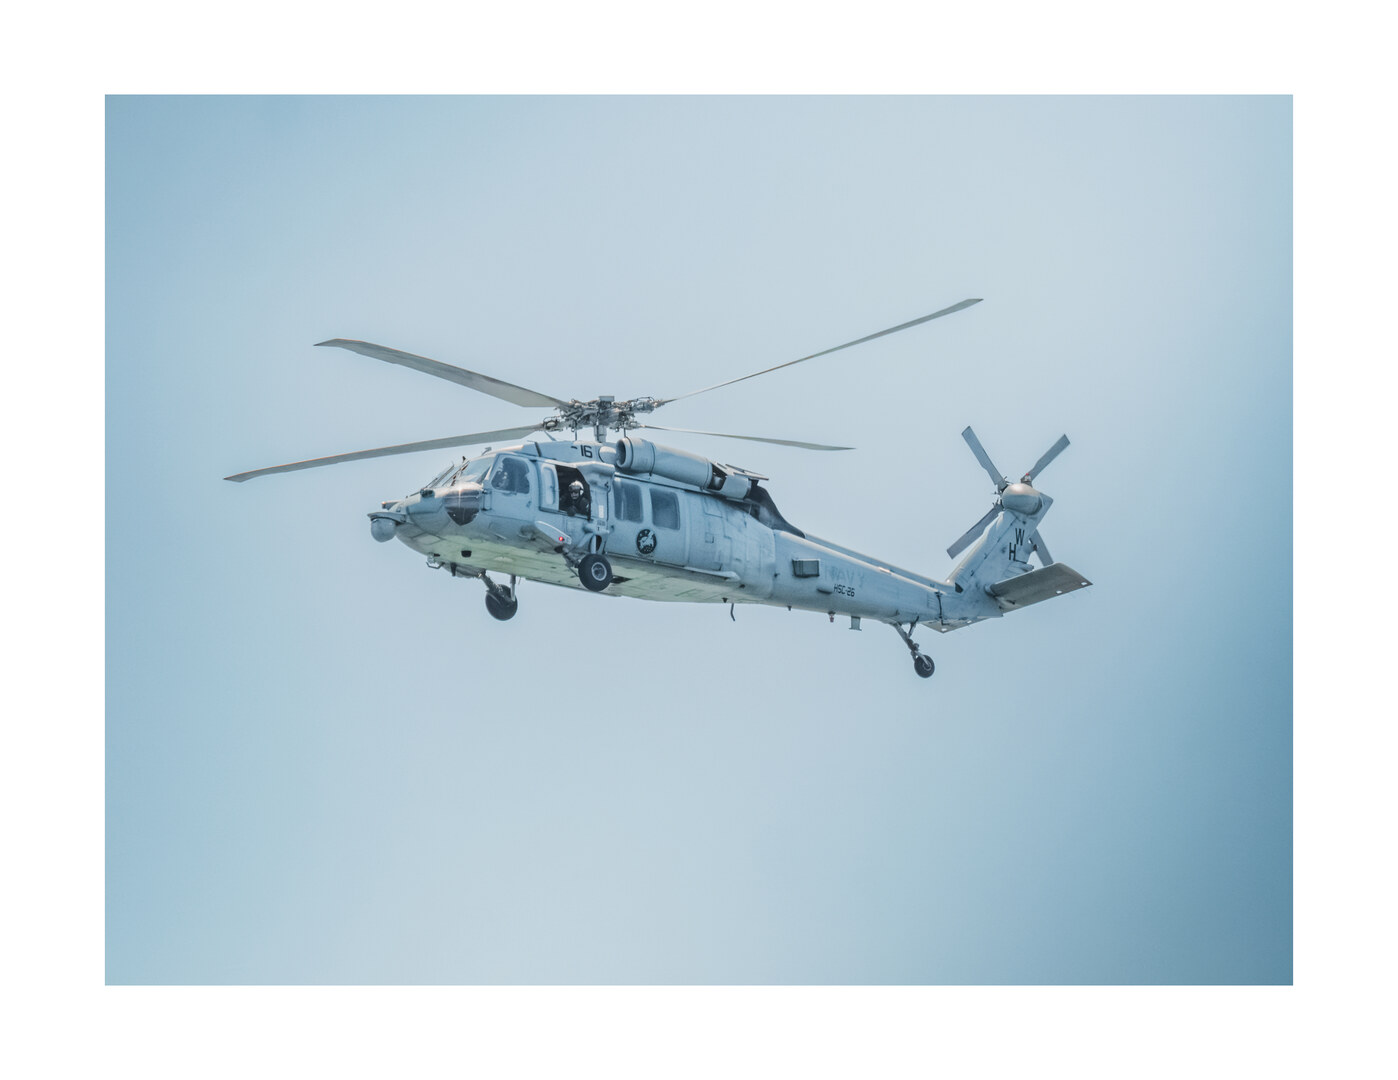
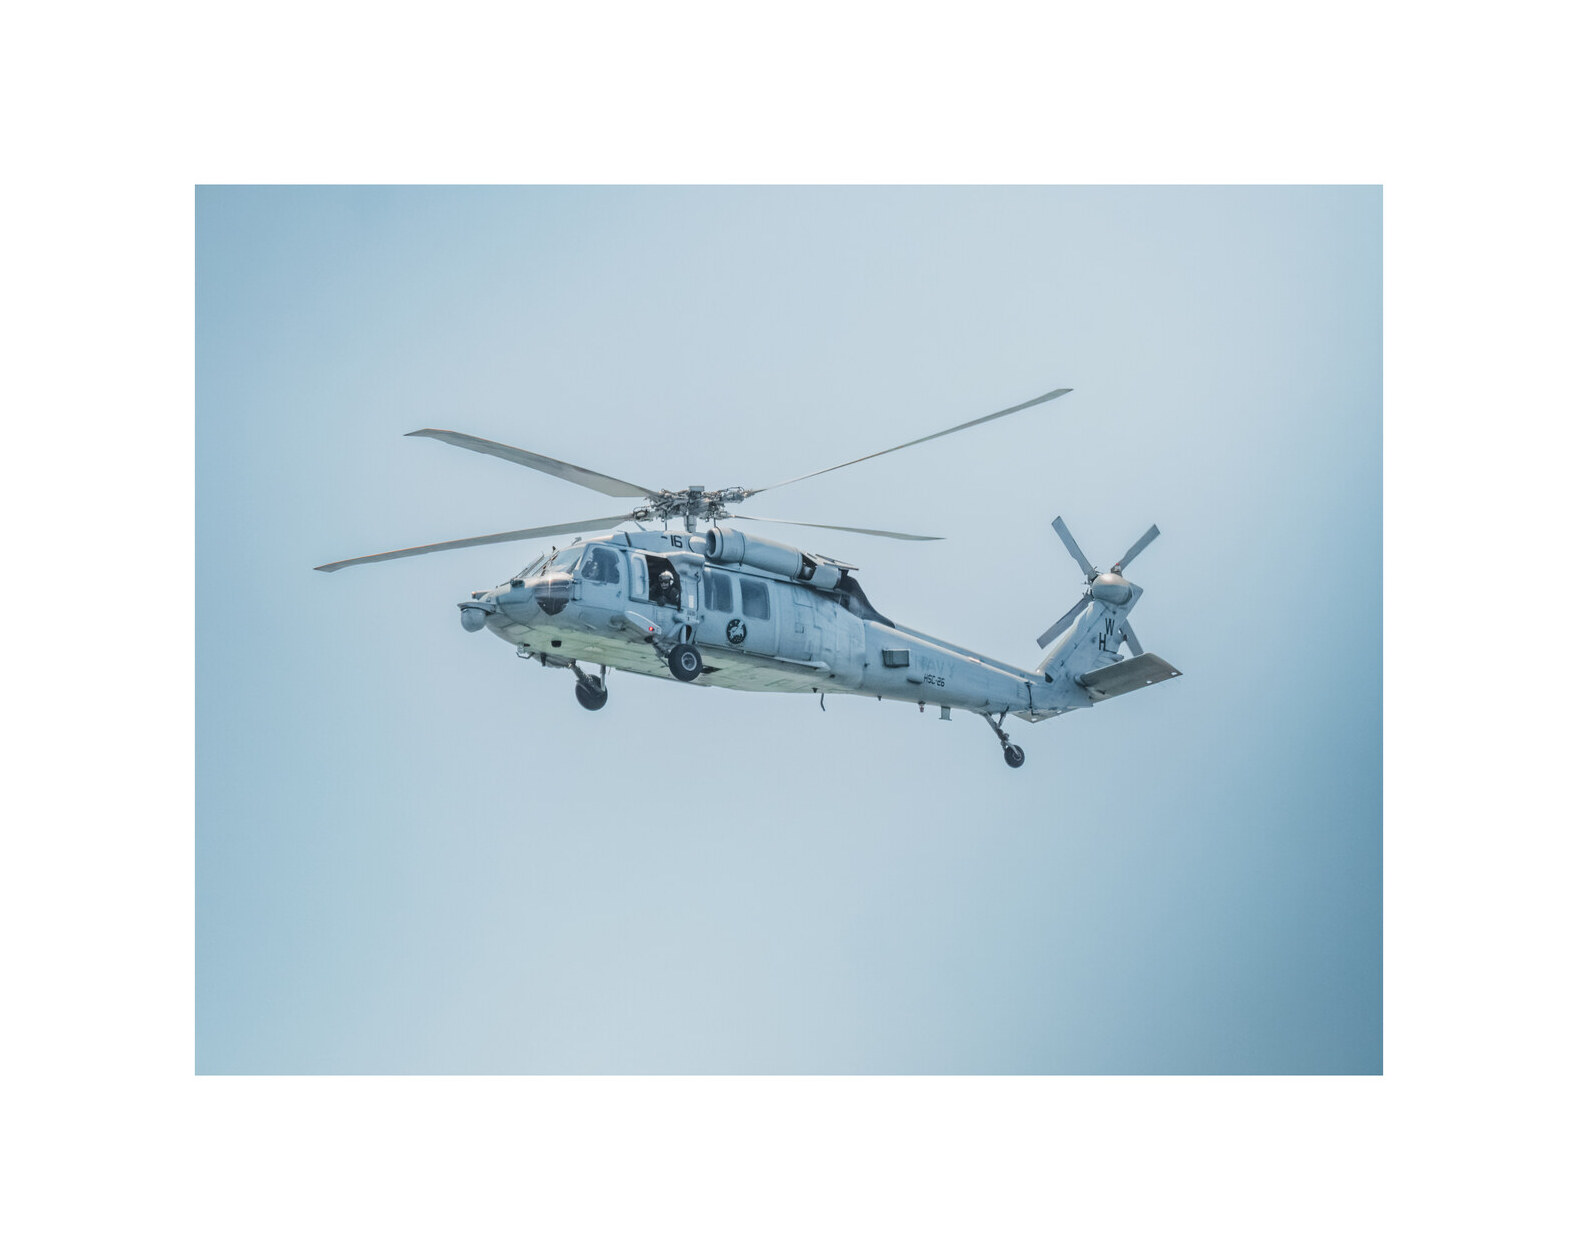
The same applies to landscape shots:
How to batch-add white borders
With DelightfulBorders, the whole process is: import, frame, style once, export. There’s no per-photo work because every photo in the batch shares the same background.
Step 1 — Import the batch with Smart Import
Open DelightfulBorders and pull in your entire camera roll at once with Smart Import. Choose from Photos or Files — import is the same from either. The app auto-detects your shots and groups them by aspect ratio (4:3, 3:4, 3:2, 1:1, and more), and prefixed groups keep the batch tidy so you can see exactly what you’re working with before you style a single frame. Filter and select precisely the photos you want.
Step 2 — Frame to a target aspect ratio
Your white border’s thickness is really controlled by the ratio you frame into. In Framing, pick from the aspect-ratio presets — 4:3, 3:4, 3:2, 16:9, 1:1, A4, and more. Choosing square 1:1 gives a classic Instagram-grid border; 4:3 keeps each photo framed in its native look. Use the landscape/portrait flip button to switch orientation instantly, then pan and pinch to position and scale your photo within the canvas — snap guides help you line it up dead center.
Step 3 — Pick pure white for the background
Head to Backgrounds & Textures. Solid colors sit at the top — tap in and use the full HSL/RGB color picker to set pure white (#FFFFFF). Because the white area is genuinely a background color showing through around your photo, every border you build from here inherits it. Want it warmer later? Cream, black, or a feed-matched color are the same single setting (more on that below).
Step 4 — Sync the look across the whole batch
With one photo framed and bordered exactly how you want it, use Sync to apply that exact look to every photo in the batch. One tap copies your settings across everything — and Sync is isolated to framing, cropping, background, or effects so you control exactly which piece of the look propagates. To give the whole batch the same white border and ratio, sync the framing and background together.
Crucially, Batch Processing previews changes across the batch in real time, so you see the white border land on every photo before committing — no surprises at the end.
Step 5 — Export full resolution via the share sheet
When it all looks right, choose your export quality — low/medium/full — and batch export everything at once through the native multi-image share sheet. Which level? Low for quick social posts, Medium for messaging, and Full for print and commercial work, so you can keep resolution up where it matters. All your bordered photos go straight to Instagram, Files, or wherever you’re headed, together.
How wide should the border be?
There’s no single “correct” width, but these guidelines work well. Remember: in DelightfulBorders you control width by choosing the aspect ratio and positioning — the border gets wider as you leave more background showing around your photo.
| Look | Border width | Best for |
|---|---|---|
| Thin mat | ~2–3% | Subtle separation, professional galleries |
| Standard mat | ~5–7% | Most social feeds, white-frame look |
| Polaroid | ~10–15% with extra bottom | Vintage, print-inspired posts |
| Square inset | 16:9 frame around any ratio | Consistent grid thumbnails |
A quick rule of thumb: if the border is invisible at a glance, it’s too thin for most feeds. If it overwhelms the photo, pull it back.
Making a consistent feed with borders
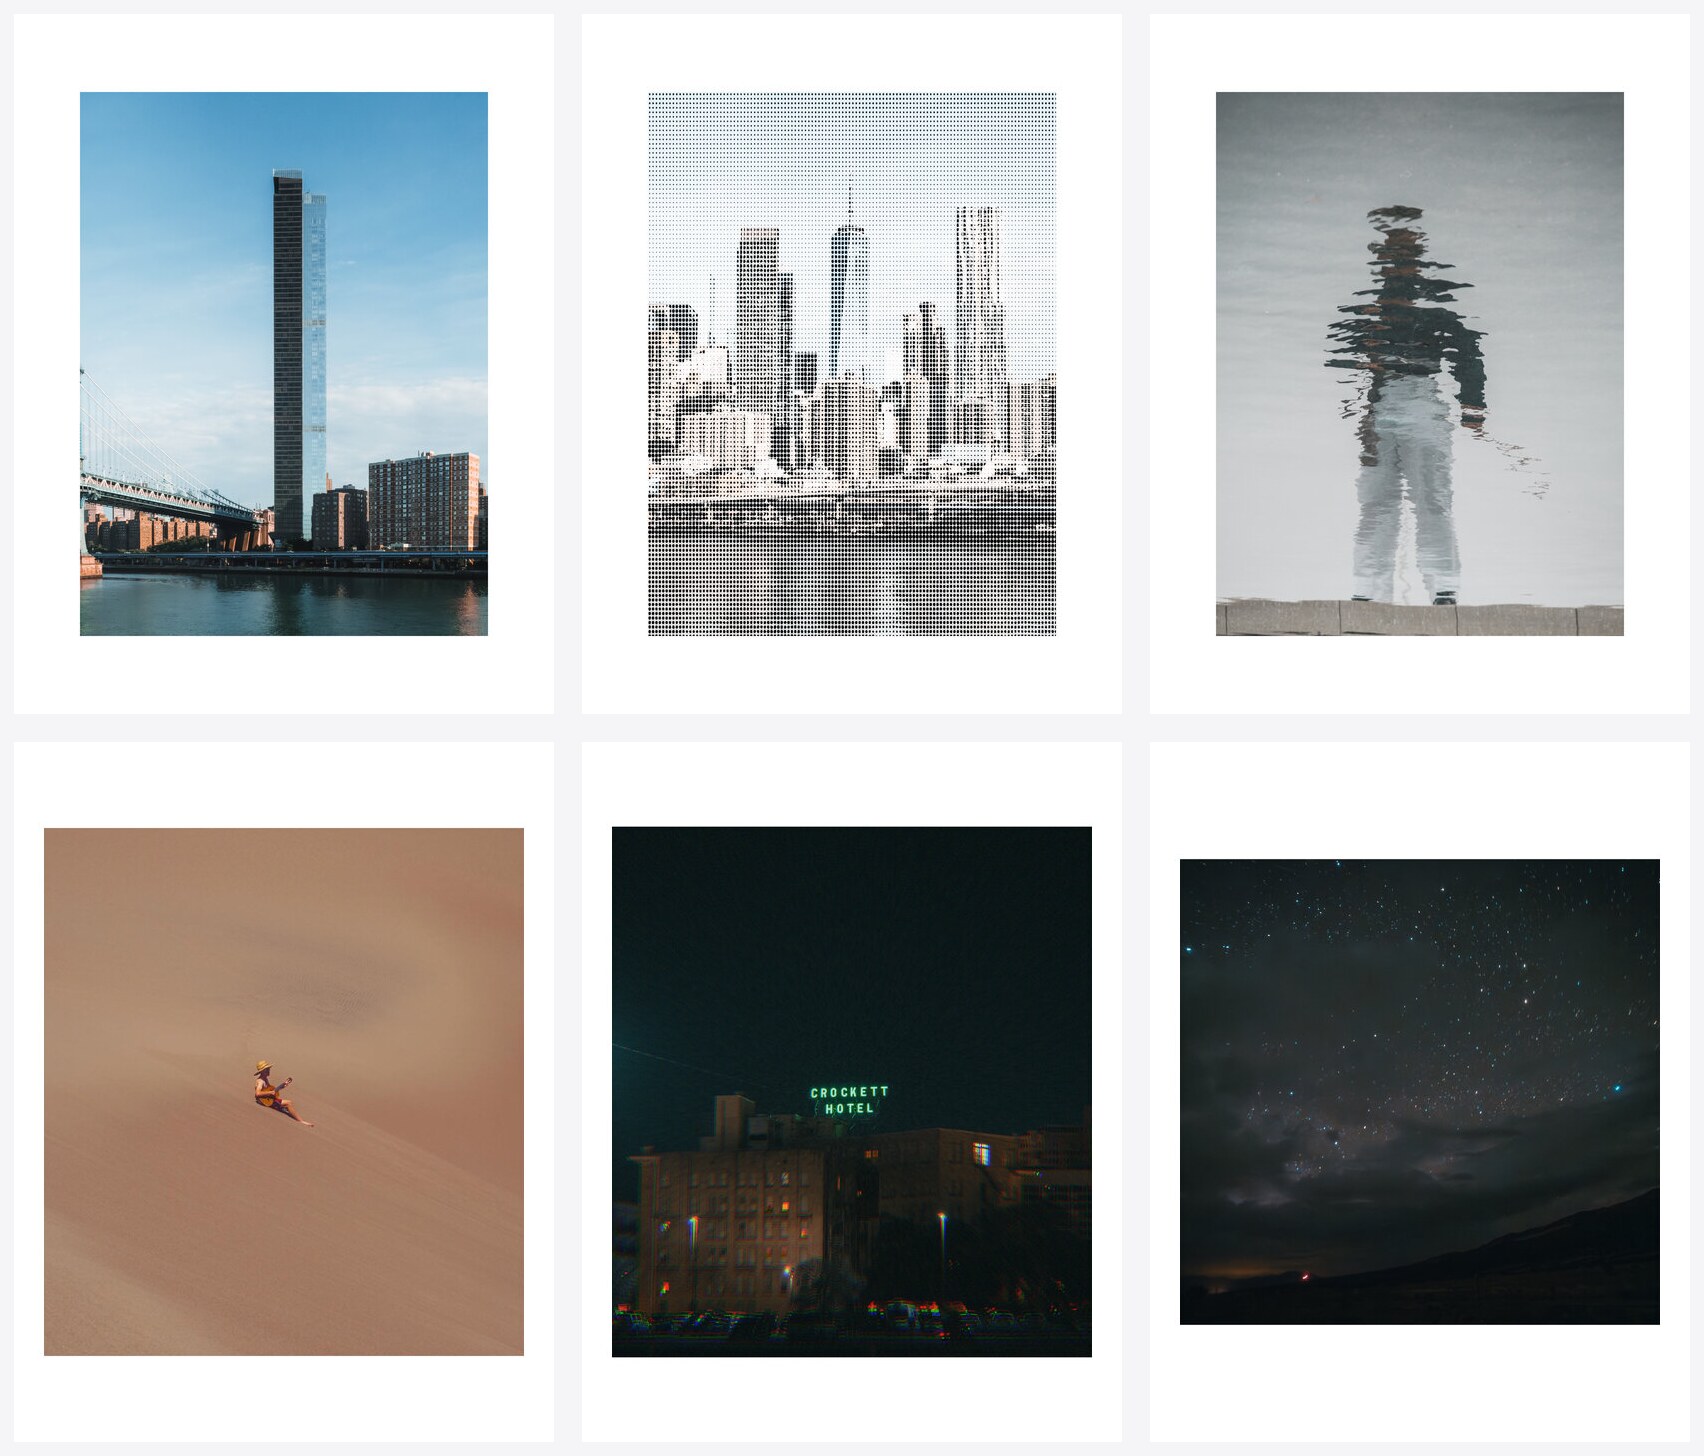
A white border is also the foundation of a consistent Instagram grid. Because the border forces every post into the same visual frame, even photos with wildly different colors and subjects will line up perfectly side by side.
White vs. colored borders
White is a classic, but the batch workflow is color-agnostic. Since border color is just the Backgrounds & Textures solid-color setting, change it in one tap and it’s applied across the whole batch. Use black for a moody editorial look, warm cream for a film feel, or match the dominant color of your feed. Beyond solid colors you can also reach for the app’s textures or magic backgrounds — the same Sync trick carries them across.
Common questions about white borders
Does a white border change the file size?
A border adds a small amount of blank area, so files get slightly bigger — but with efficient export and the option to drop to low or medium quality, the difference is negligible for social use.
Will the border get cropped on Instagram?
Instagram crops to a square thumbnail. If your border is wide enough, the photo itself stays safe inside the frame — which is exactly why white borders became the standard for grid aesthetics.
Can I apply a border to photos with different aspect ratios?
Yes. Smart Import even groups by ratio first, and every photo is framed into the same output aspect ratio, so mixed sources all come out matching.
Do I have to process photos one at a time?
No — the entire point is batch. Import once, frame once, sync once, export once.
Keep learning
- How to add borders to photos — white, colored & polaroid
- Create a consistent Instagram grid
- What output quality should you export at?
- All batch border guides
Want the full workflow? Explore the features and see DelightfulBorders — a one-time purchase on the App Store, no subscription, no account, and everything runs on your device.
Try it with your next batch
DelightfulBorders adds borders, textures, and effects to dozens of photos at once. One-time purchase, no subscription, and everything stays on your device.