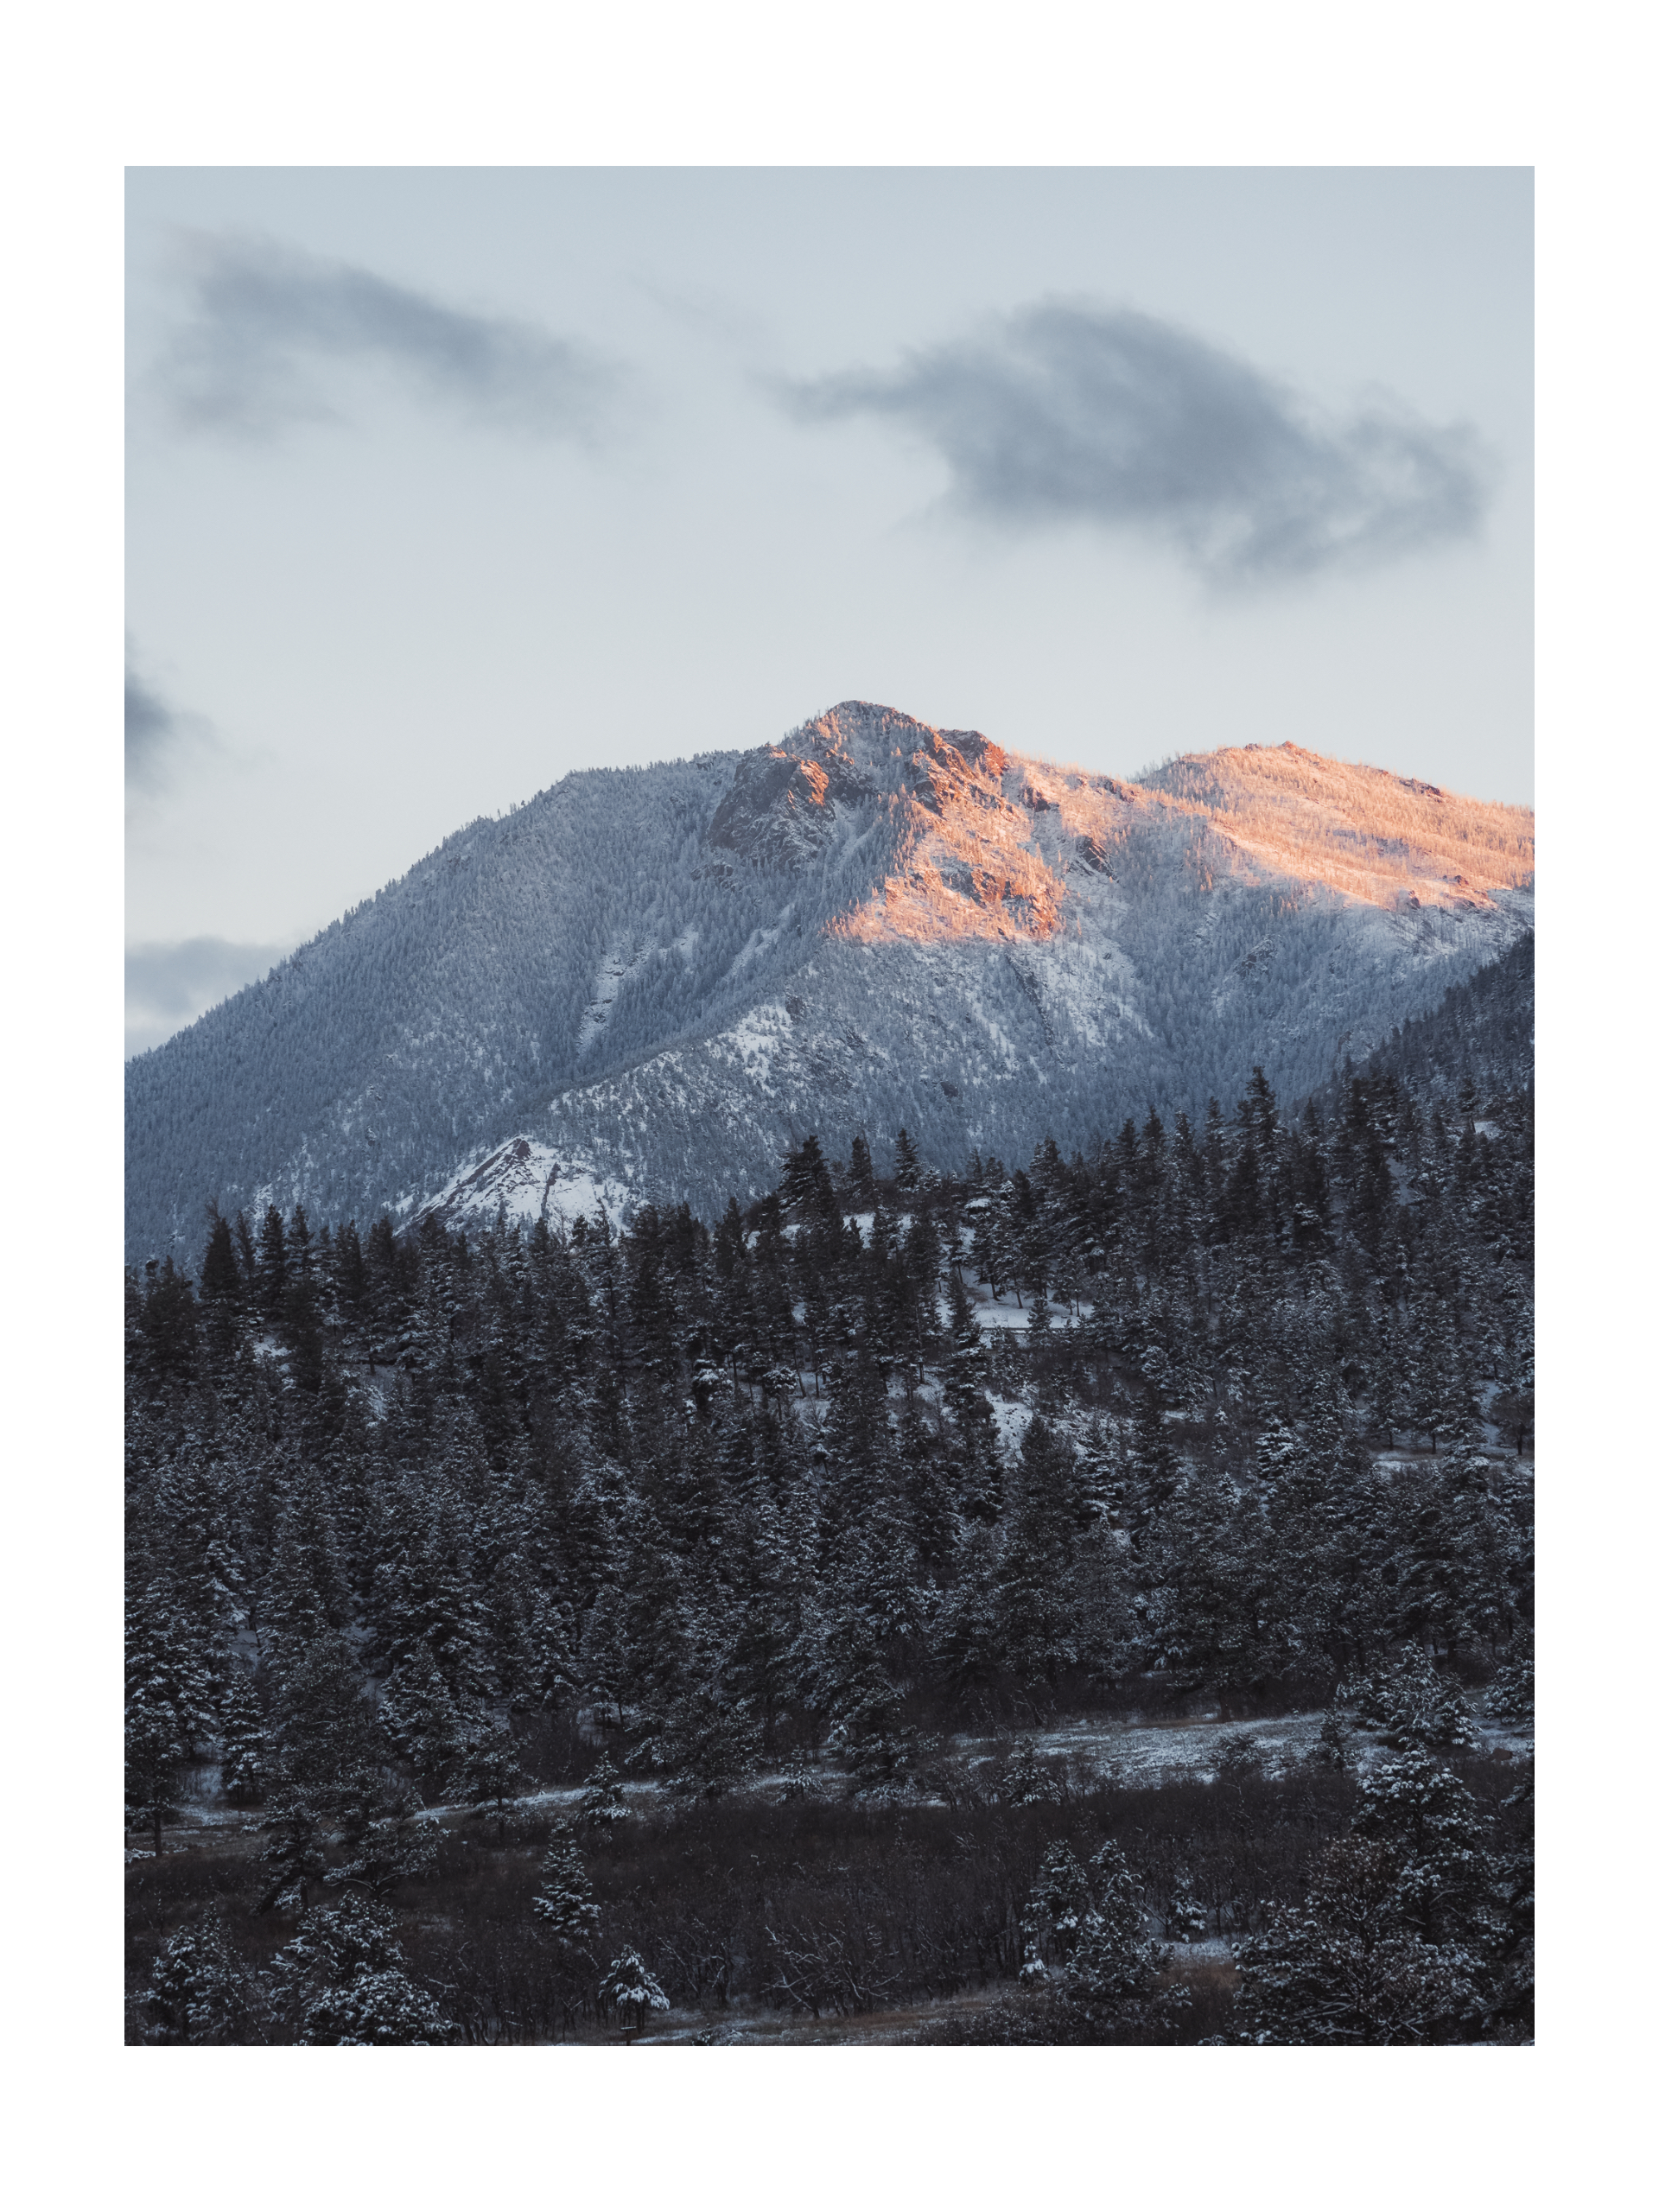
How to Create a Consistent Instagram Grid
A consistent Instagram grid is built from uniform borders, not luck. Learn how to make every post match with batch photo borders, and get the exact sizes you need.
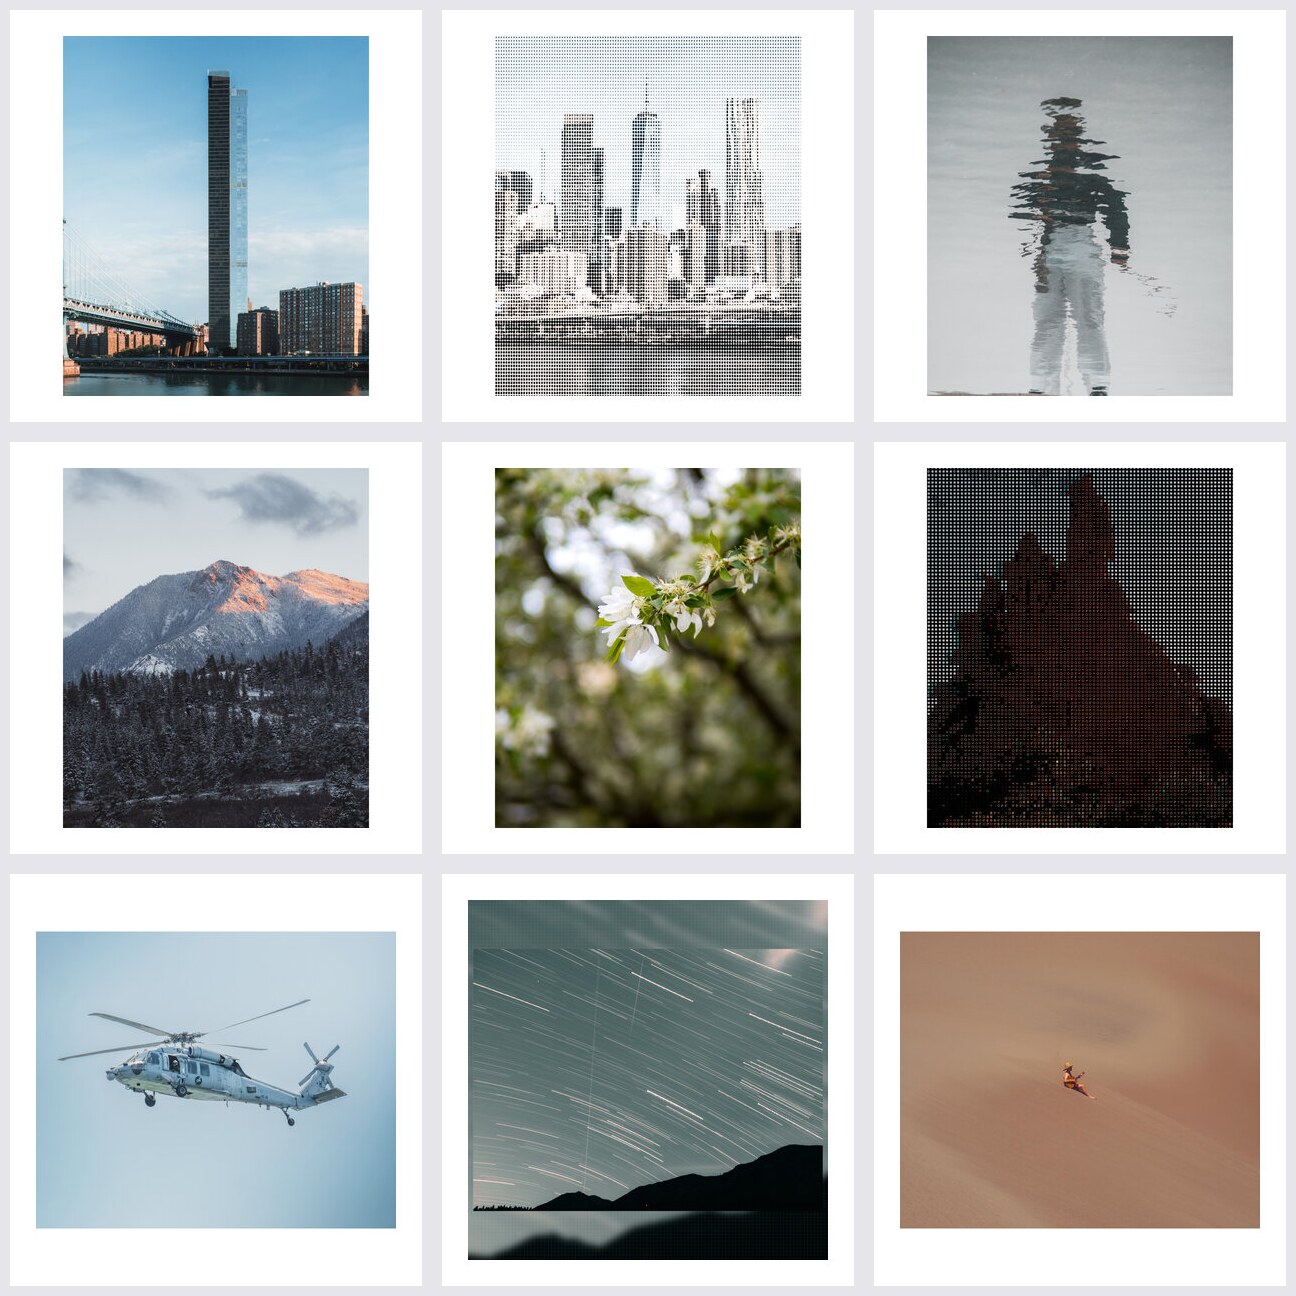
The profiles you scroll past and stop on — the ones that look like a gallery — aren’t posting different photos with different borders every time. They’re posting into a system. A consistent Instagram grid is a constraint problem, and borders are the constraint that makes it work.
The good news for you: DelightfulBorders was built around this exact idea. Smart Import, Batch Processing, and Sync are designed so a whole block of posts gets the same frame without you hand-touching a single tile. Here’s how to build a grid that looks intentional from the first row to the last.
What makes a grid look “consistent”?
Consistency isn’t sameness. It’s rhythm. When you scroll a profile and every post has:
- the same border width,
- the same amount of white space (or the same background texture),
- and the same output size,
your eye learns the grid instantly. Photos can change colors, subjects, and moods — the frame stays constant, and that’s what reads as professional.
The border-first strategy
The fastest way to a consistent grid is to give every photo the same frame before it ever touches Instagram. That means:
- Pick one canvas (square, or 4:5 portrait).
- Pick one background color or texture.
- Apply it to every photo in the batch.
- Export everything at the same resolution.
Because the frame is identical on every post, the grid lines up even when your photos are wildly different. This is exactly what Batch Processing is for — one style, applied to the whole group at once.
Smart Import: grab the whole roll at once
Before you can style your grid, you need your photos in one place. Smart Import pulls in your entire camera roll in one pass, and it automatically groups everything by aspect ratio (4:3, 3:4, 3:2, 1:1, and more).
That grouping is the first unlock for a consistent grid: you can see every 4:5 portrait in a prefixed group, select them all, and treat them as one batch. No hunting through albums, no guessing which posts are square and which are portrait. Filter to the ratio you’re posting, select what you want, and you’re ready to frame.
Pick your grid canvas: the 1:1 square (or 4:5 portrait)
The single most predictable way to make a grid line up is to give every post the same canvas. In DelightfulBorders the Framing preset is where you set that canvas:
- 1:1 square — the classic. Every tile is a perfect square, so the grid reads as an exact checkerboard.
- 4:5 portrait — slightly taller than square, and ideal when you then share straight from the share sheet to Instagram.
The Framing menu gives you aspect-ratio presets for 4:3, 3:4, 3:2, 16:9, 1:1, and A4, plus a landscape/portrait flip button. Position and scale your image inside that canvas with pan and pinch, and Let snap guides keep alignment exact. Because you’re choosing one preset and applying it to the whole batch, every post comes out on the same canvas — that’s where the consistency starts.
One background ties it together
Here’s where a diverse set of photos becomes a single, cohesive feed. DelightfulBorders gives you Backgrounds & Textures that make even wildly different subjects read as one collection:
- Solid colors with a full HSL/RGB color picker — pick one neutral, and every tile shares that mat.
- 16 procedural textures (grid, paper, linen, dots, noise, and more) — a matching texture across posts carries a distinctive theme.
- Magic backgrounds generated from each photo’s own colors — so the border always harmonizes with the subject, even when the subjects differ.
The magic backgrounds trick deserves emphasis: because each border is derived from its own photo’s palette, you get closeness without monotony. Photos stay varied, but the family resemblance of the borders unifies the grid. And each background’s scale and thickness are adjustable, so the whitespace stays identical even if the texture beneath changes.
Sync: make every tile pixel-identical
You’ve chosen your ratio and your background — now you need to make sure every single photo in the batch actually carries that same look. This is where Batch Processing shines.
Set the style on one photo, then use Sync to copy those settings across every selected image. Even better, Sync is isolated to the parts you care about: framing, cropping, background, and effects can sync independently. So you can sync only the framing and background — making every border identical — while leaving each photo’s intrinsic content untouched. Every square matches to the pixel.
While you work, the preview updates across the batch in real time, so you’ll spot a wrong background or an off-center crop the moment you make it — no exporting 40 images to discover the rhythm broke.
Batch Processing: style the whole block, not one post
The whole point of a block workflow is that you never redo a single tile. After you’ve nailed the look on the reference photo, apply the style to the whole group with Batch Processing. Frame, crop, background, and effects all sync across the selected images — one setting, not forty. Fix a typo, adjust the texture, re-sync, and the whole batch updates together.
For a deeper run-through, see batch add white borders to photos — the same ideas that power that workout hold here.
Export full-resolution and drop into Instagram
When the batch looks right, export it. The Export Quality settings give you low (for quick social posts), medium (for messaging), or full resolution (for print and commercial work). For Instagram feed images, matching your best quality through full so the platform doesn’t degrade your edges.
Then share it through the native multi-image share sheet — send the whole batch straight to Instagram in one pass, at full resolution. No desktop intermediate, no re-compressing, no re-crop:
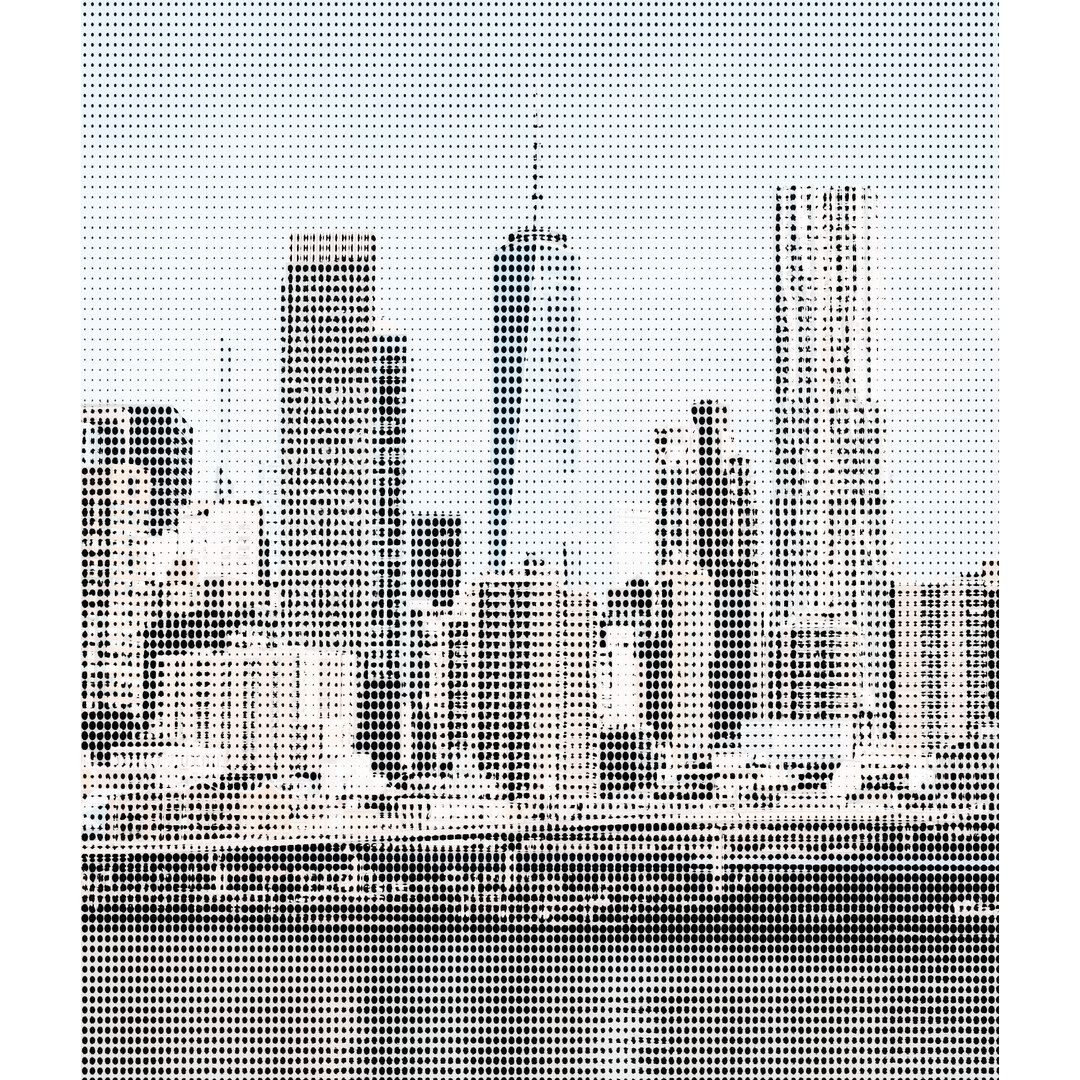
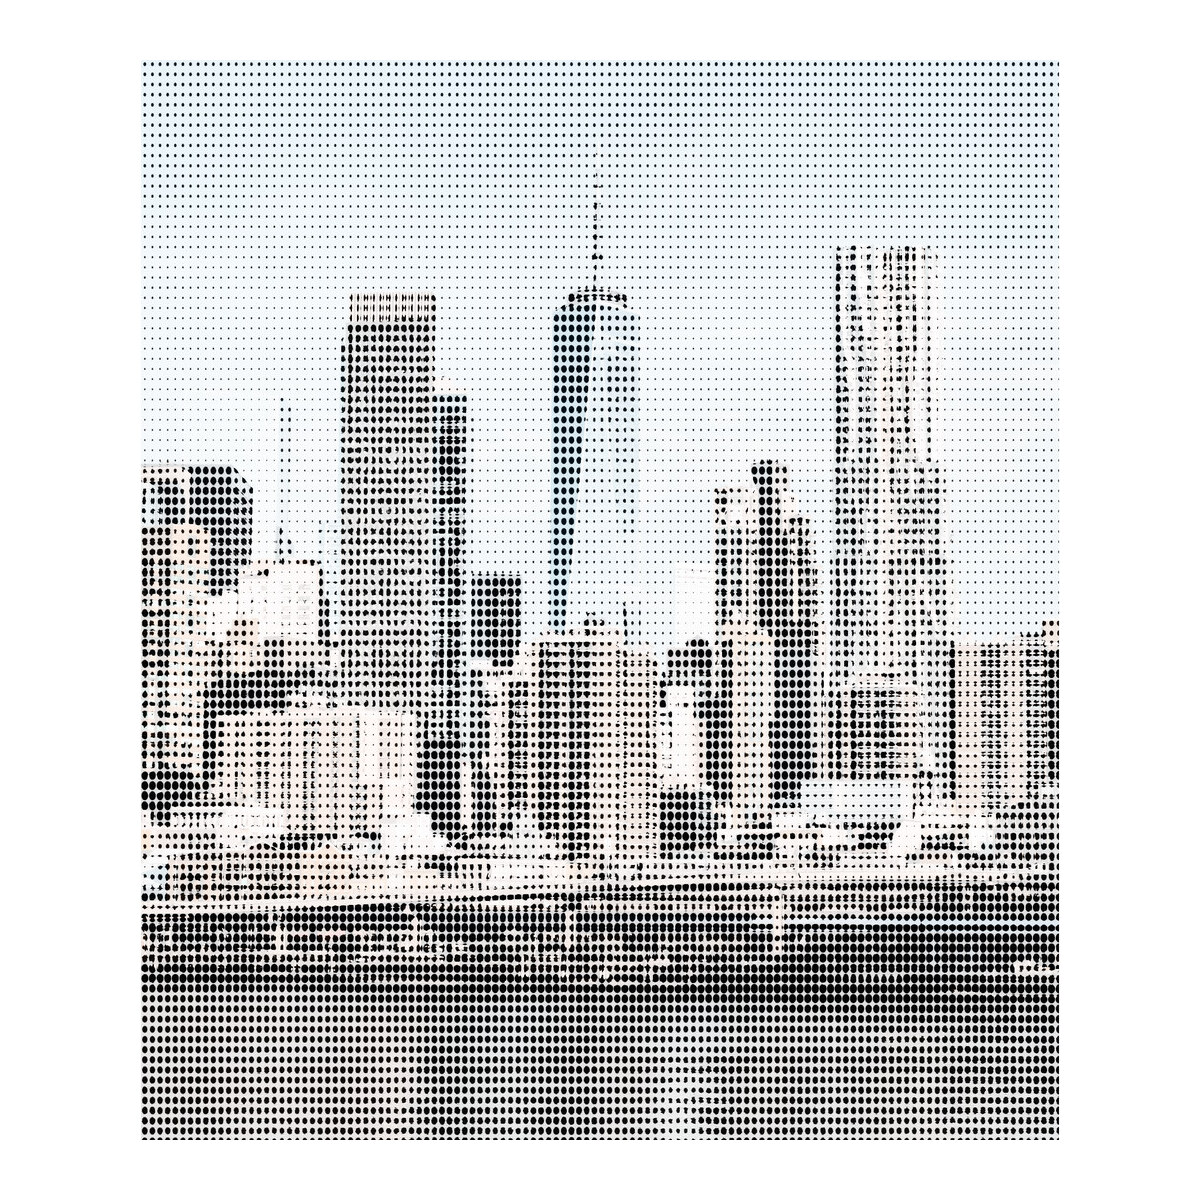
Before/after: the border on a single post
The practical workflow: your batch, end to end
Putting it all together, a block looks like this
- Import your batch — Smart Import pulls the whole roll and groups it by aspect ratio.
- Choose your canvas — pick the 1:1 (or 4:5) Framing preset so every tile is the same shape.
- Pick a consistent frame — a solid border color or a matching texture from 16 procedural backgrounds, plus magic backgrounds if you want them derived from each photo.
- Sync the look — apply the style to the whole batch with Sync, scoped to framing and background.
- Preview across the batch — check the real-time preview so nothing drifts.
- Export full-res — choose full resolution, then drop the batch into Instagram via the native multi-image share sheet.
Done. Every post on that block now has the same canvas, the same frame, and the same output size — and your grid reads as one deliberate, curated surface.
Common grid mistakes to avoid
- Inconsistent border widths. Hand-editing posts one by one guarantees this. Sync the whole batch instead.
- Mixed output sizes. If some posts are exported at low and others at full, Instagram re-encodes them differently and the grid looks fuzzy. Pick one Export Quality for the block.
- Mixed shapes. A grid that jumps between 1:1 and 10:9 without a consistent framing preset gets jagged. Set your Framing preset once and Sync it to every tile.
- Borders too thin to matter. If the border disappears at thumbnail size, it’s not doing its job. Go bolder than you think.
Ready to build the grid?
Your feed is a product. Giving it a consistent frame is the cheapest, highest-impact upgrade you can make — and it takes minutes, not hours, when you import, frame, sync, and export the whole batch at once.
Related reads:
- Instagram photo editing: sizes, borders & feed cohesion
- Batch add white borders to photos
- All social media workflows
DelightfulBorders is a one-time purchase on the App Store. Border 40 photos in the time it used to take to do one.
Try it with your next batch
DelightfulBorders adds borders, textures, and effects to dozens of photos at once. One-time purchase, no subscription, and everything stays on your device.