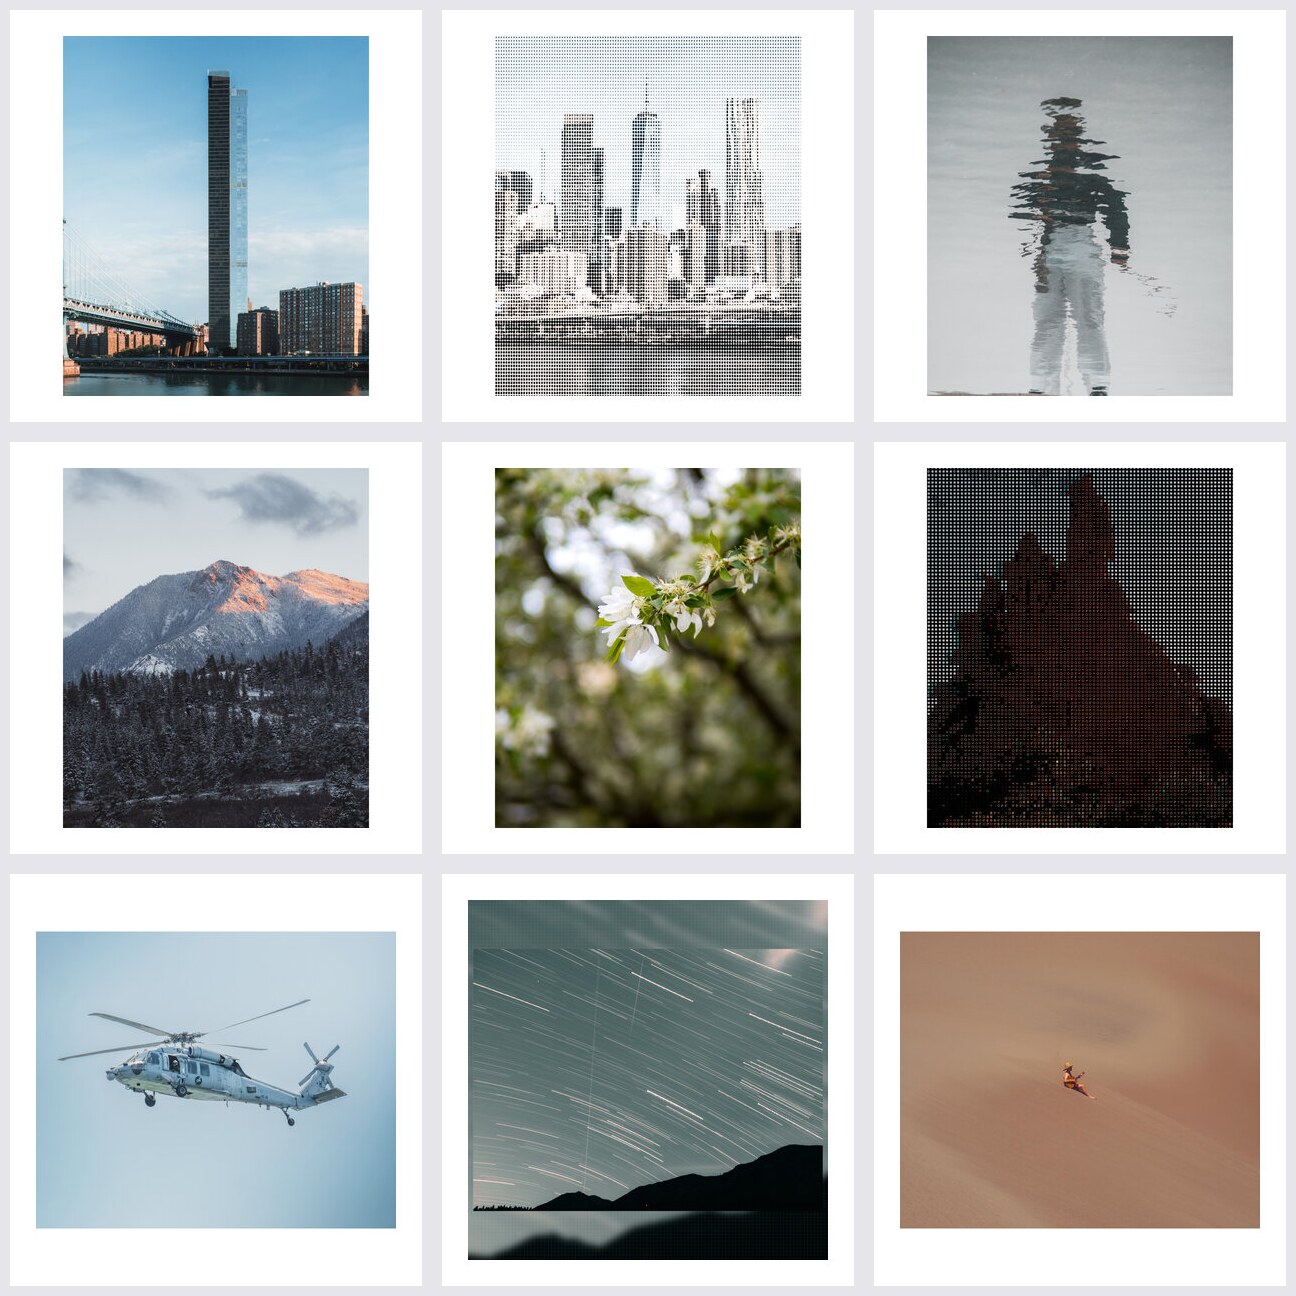
Instagram Photo Editing: Sizes, Borders & Feed Cohesion
The complete Instagram photo editing guide: exact image sizes, how to use white borders for a cohesive feed, and how to batch-prepare a full grid in minutes.
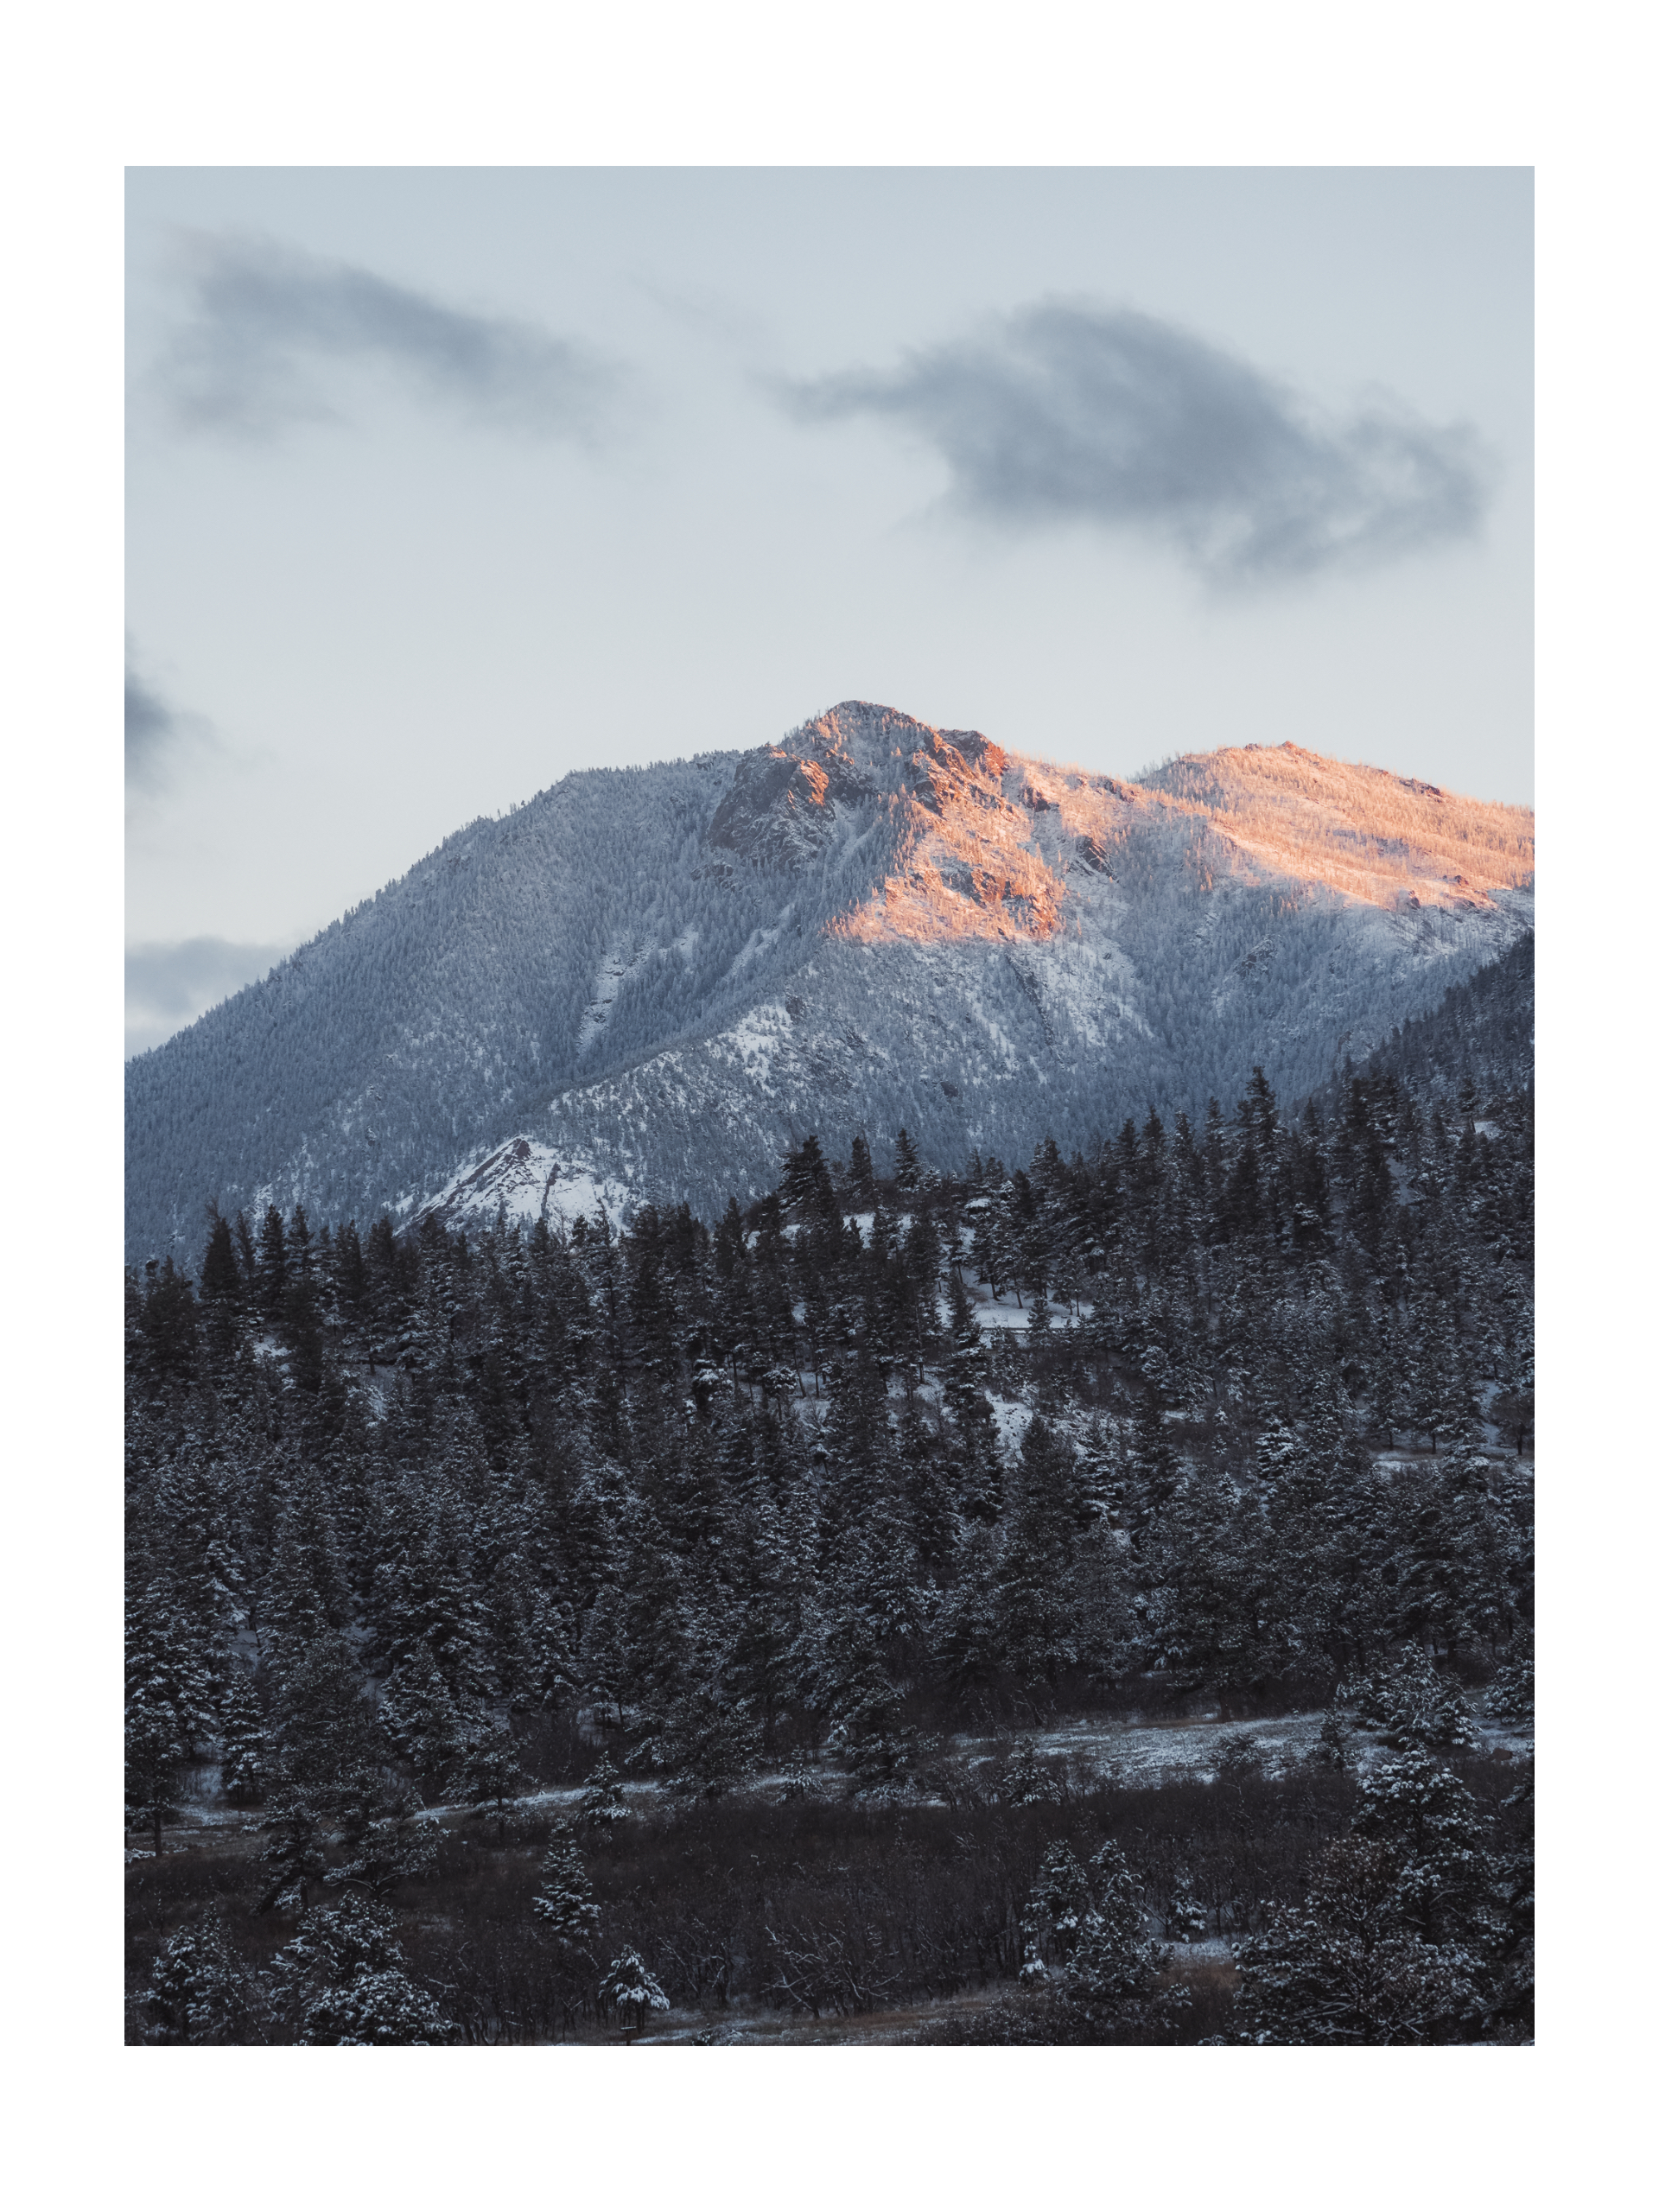
Instagram punishes inconsistency and rewards system. The feeds that stop your scroll aren’t the ones with the best individual photos — they’re the ones where every photo arrives already formatted: right size, right border, right rhythm.
This is the practical guide to preparing photos for Instagram: the exact sizes, the border system that keeps a feed cohesive, and how to prepare a whole grid before you post a single image.
The sizes, exactly
Instagram re-encodes everything, but you can make its job trivial by uploading at the platform’s native resolution:
| Use case | Export size | Aspect |
|---|---|---|
| Feed — square | 1080 × 1080 | 1:1 |
| Feed — portrait | 1080 × 1350 | 4:5 |
| Feed — landscape | 1080 × 566 | 1.91:1 |
| Story / Reel | 1080 × 1920 | 9:16 |
| Carousel | 1080 × 1080 (square base) | 1:1 |
Two rules:
- Never upload bigger than 1080px wide. Instagram downscales anyway; you’re just slowing the upload and adding compression.
- Export at exactly the aspect ratio. Off-ratio images get cropped or letterboxed. A medium-resolution export at the right size is the whole game.
The border system for feed cohesion
A cohesive feed is rarely a collection of perfect photos. It’s a collection of photos that agree with each other. The cheapest agreement device is a consistent border.
The system is three fixed choices:
- Border color — white, cream, or black. Pick one and don’t change it.
- Border width — a fixed percentage of the image. Same every time.
- Output ratio — square for a clean grid, or 4:5 portrait posts framed into a square canvas so thumbnails match.
When every post has the same frame, thumbnails line up in the grid and the profile looks designed even when the content varies wildly. The consistent grid tutorial builds this exact system.
Preparing a grid in one pass
The mistake people make is editing post by post, in posting order. The professional approach is to prepare a block at once:
Step 1 — Plan a block of posts
Pick 9 (or 12) photos for your next grid block. Don’t worry about order yet — worry about sameness.
Step 2 — Apply the same frame to the block
In DelightfulBorders, import the whole block, set your border color, border width, and ratio once, and the frame applies to every photo. A whole grid’s framing in one action. Batch white borders walkthrough →
Step 3 — Add your signature treatment
Consistent grids usually pair the border with a second uniform element — a film grain, a paper texture, a color grade. Grain a whole batch → or add a texture →. Keep it subtle; the border is the star.
Step 4 — Export the block, then arrange
Export everything at 1080px, then drag the files into your posting order. You now know exactly how the next nine posts will look before you commit to posting them.
The before/after of a prepared feed
A feed prepared this way has three visible properties:
- No cropping surprises. Every post is already the correct size, so Instagram never slices your subject.
- Uniform thumbnails. The border makes every tile the same visual weight.
- Rhythm you can plan. Because the frame is constant, you can arrange by color, subject, or mood — the grid stays coherent no matter the order.
Editing photo by photo vs. editing the feed
The difference is scope. Photo-by-photo editing optimizes each image. Feed editing optimizes the collection — and the collection is what people actually see when they visit your profile. Batch tools make feed editing possible because they let you treat a grid as one unit instead of nine separate chores.
Common Instagram editing mistakes
- Editing at phone-native size and uploading raw. Huge files, unnecessary compression. Export at 1080px.
- Borders that differ post to post. Kills the grid faster than any filter choice.
- Full-bleed mixed ratios. A square post next to a 4:5 post next to a landscape post is a jumbled grid.
- Ignoring thumbnails. Judge your edits at 168×168px, not full-screen. If the border disappears, it’s too thin.
Put the system in place
Your feed is a product with a repeatable process. Frame, treat, export, arrange — and repeat for the next block.
Keep reading:
- How to create a consistent Instagram grid
- Batch add white borders to photos
- All social media workflows
DelightfulBorders prepares and exports whole grids on-device — one-time purchase, no subscription.
Try it with your next batch
DelightfulBorders adds borders, textures, and effects to dozens of photos at once. One-time purchase, no subscription, and everything stays on your device.