Photo Effects
From film grain to chromatic aberration, glitch, halftone, and ASCII art — learn what each photo effect does, how intensity changes the look, and how to apply the same effect to dozens of photos at once.
Guides in this topic
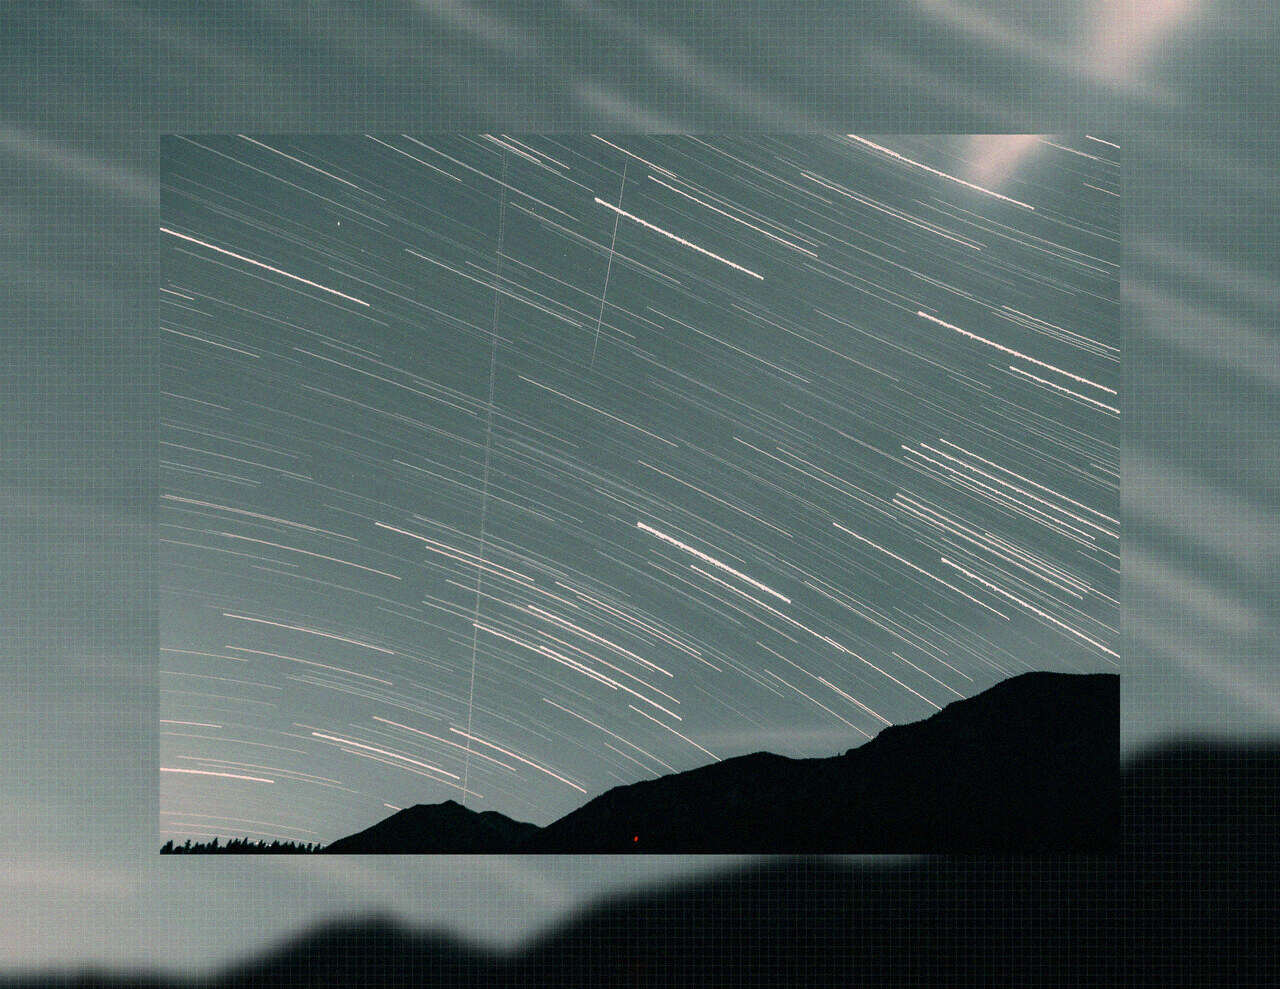 Effects
 How to Apply Film Grain to 40 Photos at Once
Give a whole batch a film look in seconds. Learn how to apply the same grain effect to 40 photos at once, tune the intensity, and keep every export consistent.
Read guide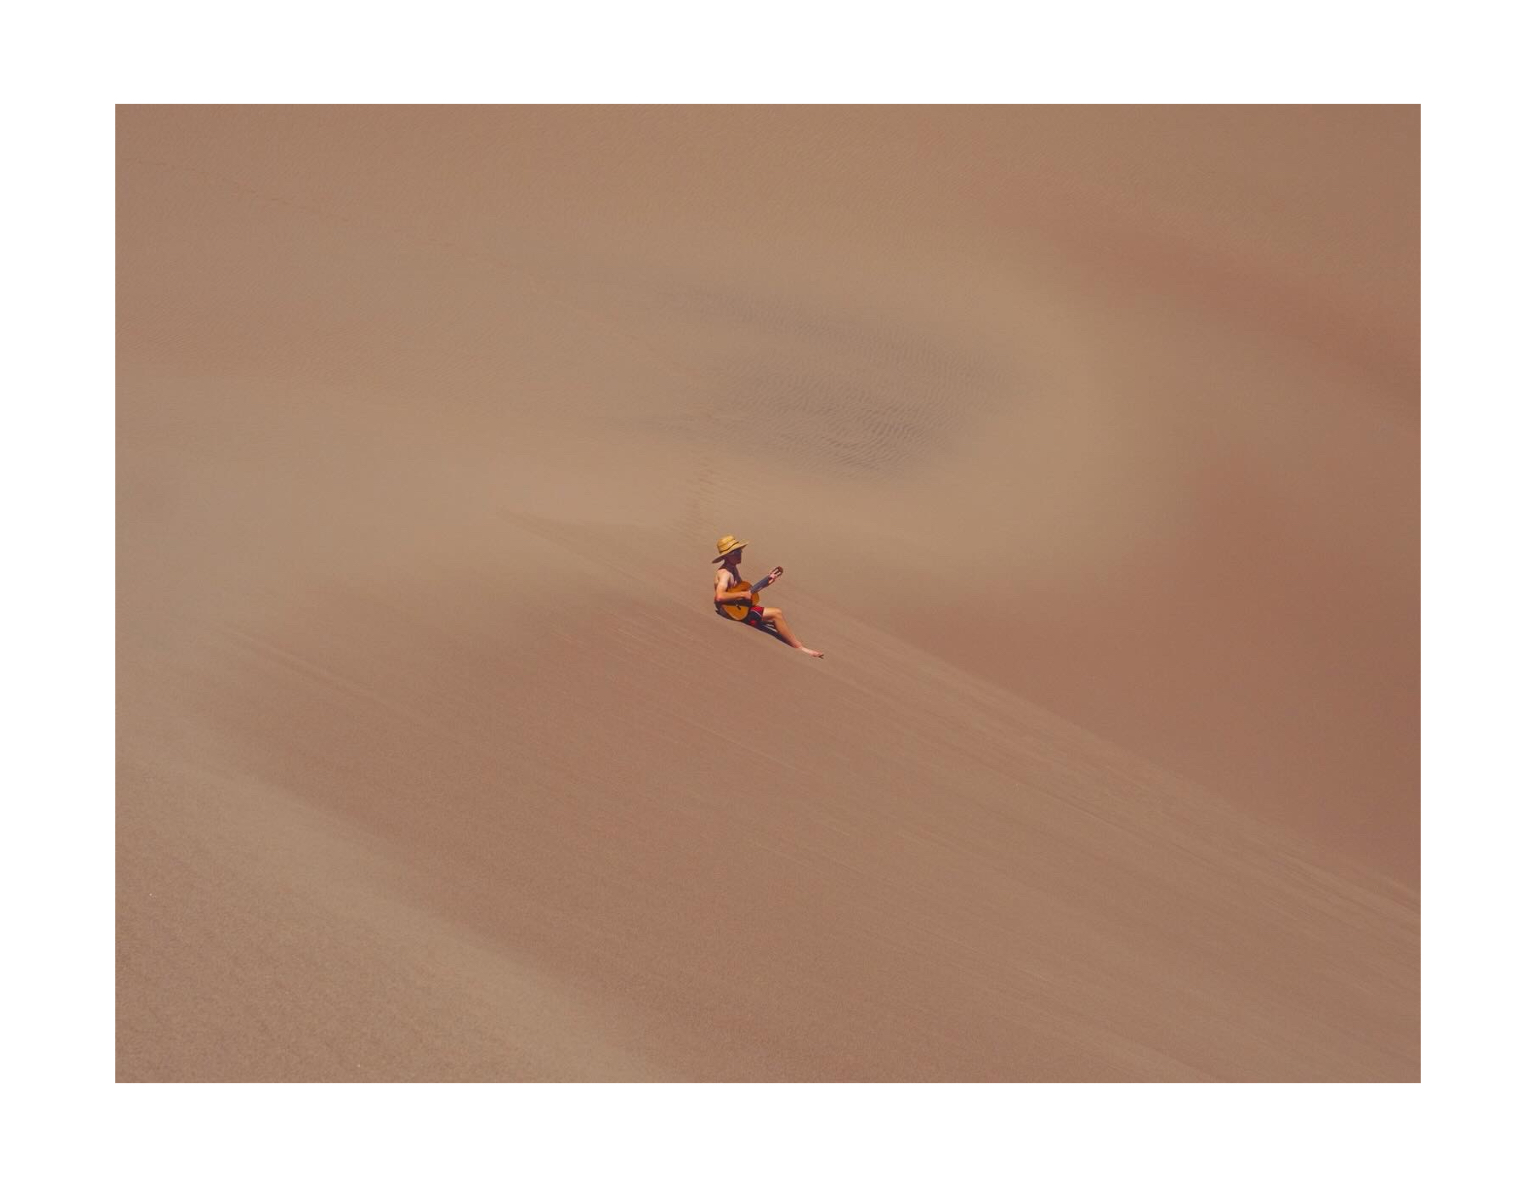 Effects
 Photo Effects Explained: Grain, Glitch, Halftone & More
Every photo effect, explained: film grain, glitch, chromatic aberration, halftone, dither, and more. Learn what each one does, how intensity changes the look, and how to apply effects to a batch.
Read guideFrequently asked questions
What is the best photo effect for a film look?
Film grain is the standard starting point. Add a subtle chromatic aberration for an analog-lens character, or dither for a printed-media feel. Keep intensities low and stack effects rather than maxing one out.
Can I apply effects to 40 photos at once?
Yes. Effects in DelightfulBorders are GPU shaders applied to the whole batch at once — enable grain (or any effect), set the intensity once, and export all 40 photos together with the exact same treatment.
What do the intensity settings on effects mean?
Each effect runs from 0–100%. The same effect at 15% and 60% looks completely different. Subtle ranges (10–30%) read as analog warmth; bold ranges (40%+) read as deliberate art direction.
Will heavy effects slow down batch processing?
No. Effects render on the GPU, so previews and exports stay fast even with large batches and stacked effects.
Explore more topics
Put these workflows to work
DelightfulBorders applies borders, textures, and effects to dozens of photos at once — on your device, one-time purchase, no subscription.